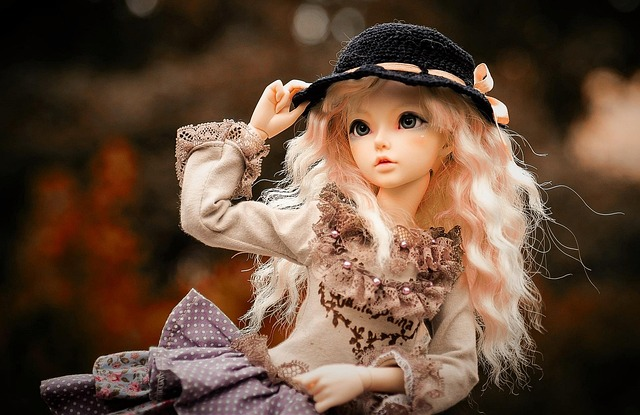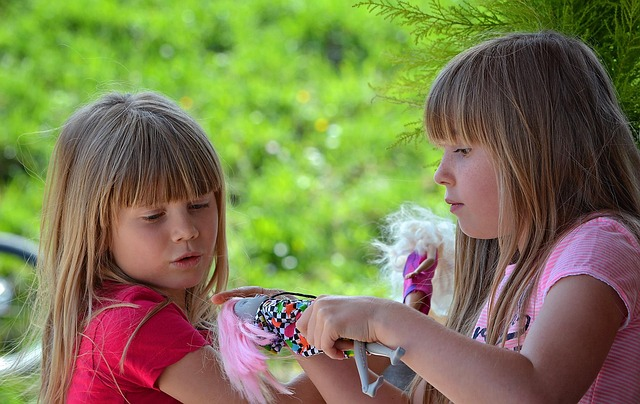
Barbie dolls open a world of imagination, but the fun really comes alive when kids can design and create Barbie’s living space themselves. While buying pre-made furniture sets is convenient, there’s something truly magical about crafting your own. With a few household items, some creativity, and a little glue, kids (and parents!) can build a stylish Barbie Dreamhouse filled with DIY furniture that’s budget-friendly and packed with personality.
Let’s explore DIY Barbie furniture ideas that will keep your child entertained while teaching them the joy of creating something from scratch.
1. Matchbox Sofas and Armchairs
Materials: Empty matchboxes or small cardboard boxes, fabric scraps, cotton, glue
- Glue matchboxes together to form the sofa base and backrest.
- Add cotton or sponge padding.
- Cover with fabric to mimic cushions.
- Optional: Use toothpicks or craft sticks as sofa legs.
Why it’s great: Encourages design thinking and gives Barbie a comfy space to relax.
2. Shoebox Bed with PillowsMaterials: Shoebox, old t-shirt or cloth, cotton filling, ribbon
- Cut the shoebox to desired bed length.
- Wrap fabric around the box like a mattress.
- Use old socks or fabric scraps filled with cotton for pillows.
- Add a ribbon headboard or decorate with washi tape.
🎨 Style tip: Let your child choose a theme—princess, modern chic, or rainbow dream!
3. Table & Chairs from Bottle Caps and Cardboard
Materials: Plastic bottle caps, thick cardboard, glue gun, markers or paint
- Use one bottle cap as the chair seat and another for the table base.
- Cut and decorate cardboard circles for chair backs and tabletops.
- Glue together securely and let dry.
♻️ Bonus: Teaches kids about recycling and upcycling household materials.
4. Barbie Bathroom Sink
Materials: Travel-sized shampoo bottle, beads, tin foil, straws
- Cut the bottle in half lengthwise for the sink.
- Use beads or foil for knobs.
- A bent straw makes a great faucet.
- Attach everything to a cardboard “counter” and paint as desired.
💡 Learning angle: A hands-on way to think about plumbing, design, and household items.
5. Mini Closet with Hangers
Materials: Tissue box, paper clips, straws, glue, fabric
- Cut an opening in the tissue box to mimic a closet.
- Insert a straw as the clothing rod.
- Shape paper clips into hangers.
- Add shelves using cardboard strips.
Fun add-on: Create tiny dresses with scrap fabric and Velcro for mix-and-match play.
6. Kitchen Counter from a Cereal Box
Materials: Small cereal box, bottle lids, markers, aluminum foil
- Paint or wrap the cereal box to mimic a counter.
- Add bottle lids as burners.
- Use foil for a shiny stove top or sink.
- Draw or glue on knobs and oven doors.
Skill builder: Helps kids think about kitchen layouts and proportions.
7. Wall Decor & Rugs
Wall Art: Use stickers or cut-outs from magazines, glued to cardboard frames.
Rugs: Cut circles or rectangles from old cloth or felt for Barbie’s cozy flooring.
✨ Add personality: Let your child decorate Barbie’s walls just like their own room.
8. Tool-Free DIY Tips
If you want quick furniture ideas without cutting or gluing, try these:
- Jewelry boxes → Dresser drawers
- Lego bricks → Modular furniture
- Bottle caps → Footstools or garden seats
- Napkin holders → Lounge chairs
- Egg cartons → Chairs, sofas, or storage bins
🧠 These quick hacks are great for younger kids or on-the-go play setups.
9. Barbie Storage Crate Furniture
Materials: Small cardboard boxes, washi tape, stickers
- Stack or align boxes to form bookshelves, storage units, or TV stands.
- Decorate the “drawers” with tape or paper to add Barbie’s flair.
Pro tip: Use these pieces to actually store Barbie’s accessories when not in use!
Final Touches for a Barbie Dreamhouse
Encourage your child to name each furniture piece and create stories around it:
- “This is Barbie’s favorite reading chair.”
- “She made this table for her art projects.”
- “Ken built this shelf for Barbie’s shoe collection.”
Give them notebook paper to draw floor plans or write down decorating ideas. This turns DIY time into a full-on creative design project that grows with your child’s imagination.
Final Word: Big Dreams, Tiny Furniture
Creating DIY Barbie furniture is more than a craft—it’s an opportunity for quality time, creative expression, and hands-on learning. Whether you’re upcycling old materials or spending an afternoon building together, every piece adds magic to Barbie’s world and joy to your child’s playtime.
So gather those shoeboxes and glue sticks—it’s time to build a Barbie home one tiny chair at a time!